


DIY Water Tank Mounting Ideas for Your 4x4 or Truck
If you enjoy off-roading, camping, or long road trips in your 4x4 or truck, having a reliable water source is more than just a luxury it’s a necessity. Whether it’s for cleaning dishes, washing your hands, cooling down your pet, or taking a quick outdoor shower, an on-board water tank can make a big difference. But many people struggle with how to securely and conveniently mount a water tank in a truck bed or 4WD vehicle. In this article, you’ll learn some of the best Car Roof water tank and how to choose the right setup for your vehicle. We'll also show you an excellent product the OPENROAD Pressurized Water Tank for Camping Shower that makes everything much easier.

Part 1: Understanding Truck Bed Water Tank Mounting
A water tank is a container that fits into your truck or 4x4’s cargo area to hold water for various outdoor uses. These tanks come in different sizes and shapes, and many include features like pressurized water flow, easy-fill ports, and built-in spray nozzles.
Why You Need a OPENROAD Water Storage Mount
When traveling off-road or to remote camping areas, there might not be any nearby water source. A OPENROAD water tank lets you carry water securely, so it doesn’t shift or leak while driving on bumpy trails. It’s especially useful if you camp often or go on multi-day trips.
Key Features to Consider
· Capacity: Choose between 5-gallon and 10-gallon options based on your needs.
· Material: Look for durable, lightweight, rust-proof materials like aluminum alloy.
· Pressure Support: A tank with pressure control makes it easier to use water for showers or dishwashing.
· Mounting Compatibility: Make sure it fits your truck bed or roof rack safely.

Part 2: DIY Water Tank Mounting Ideas for 4x4 or Truck Bed
Mounting a water tank in your 4x4 or truck bed doesn’t have to be complicated. Here are four simple and practical DIY mounting ideas to keep your water tank secure and ready for any outdoor trip.
1. Bed Rail Mounting Using U-Bolts and Brackets
One of the simplest and most secure methods is mounting the water tank to the truck bed rails using U-bolts and metal brackets. This keeps the tank off the floor and allows you to use the bed space underneath.
How to do it:
· Choose a flat spot along the bed rail.
· Use U-bolts to fix the brackets tightly.
· Strap or bolt the tank onto the brackets.
· Use rubber padding to reduce vibration and noise.
Best for: Small to medium-sized tanks like the OPENROAD 5Gal version.
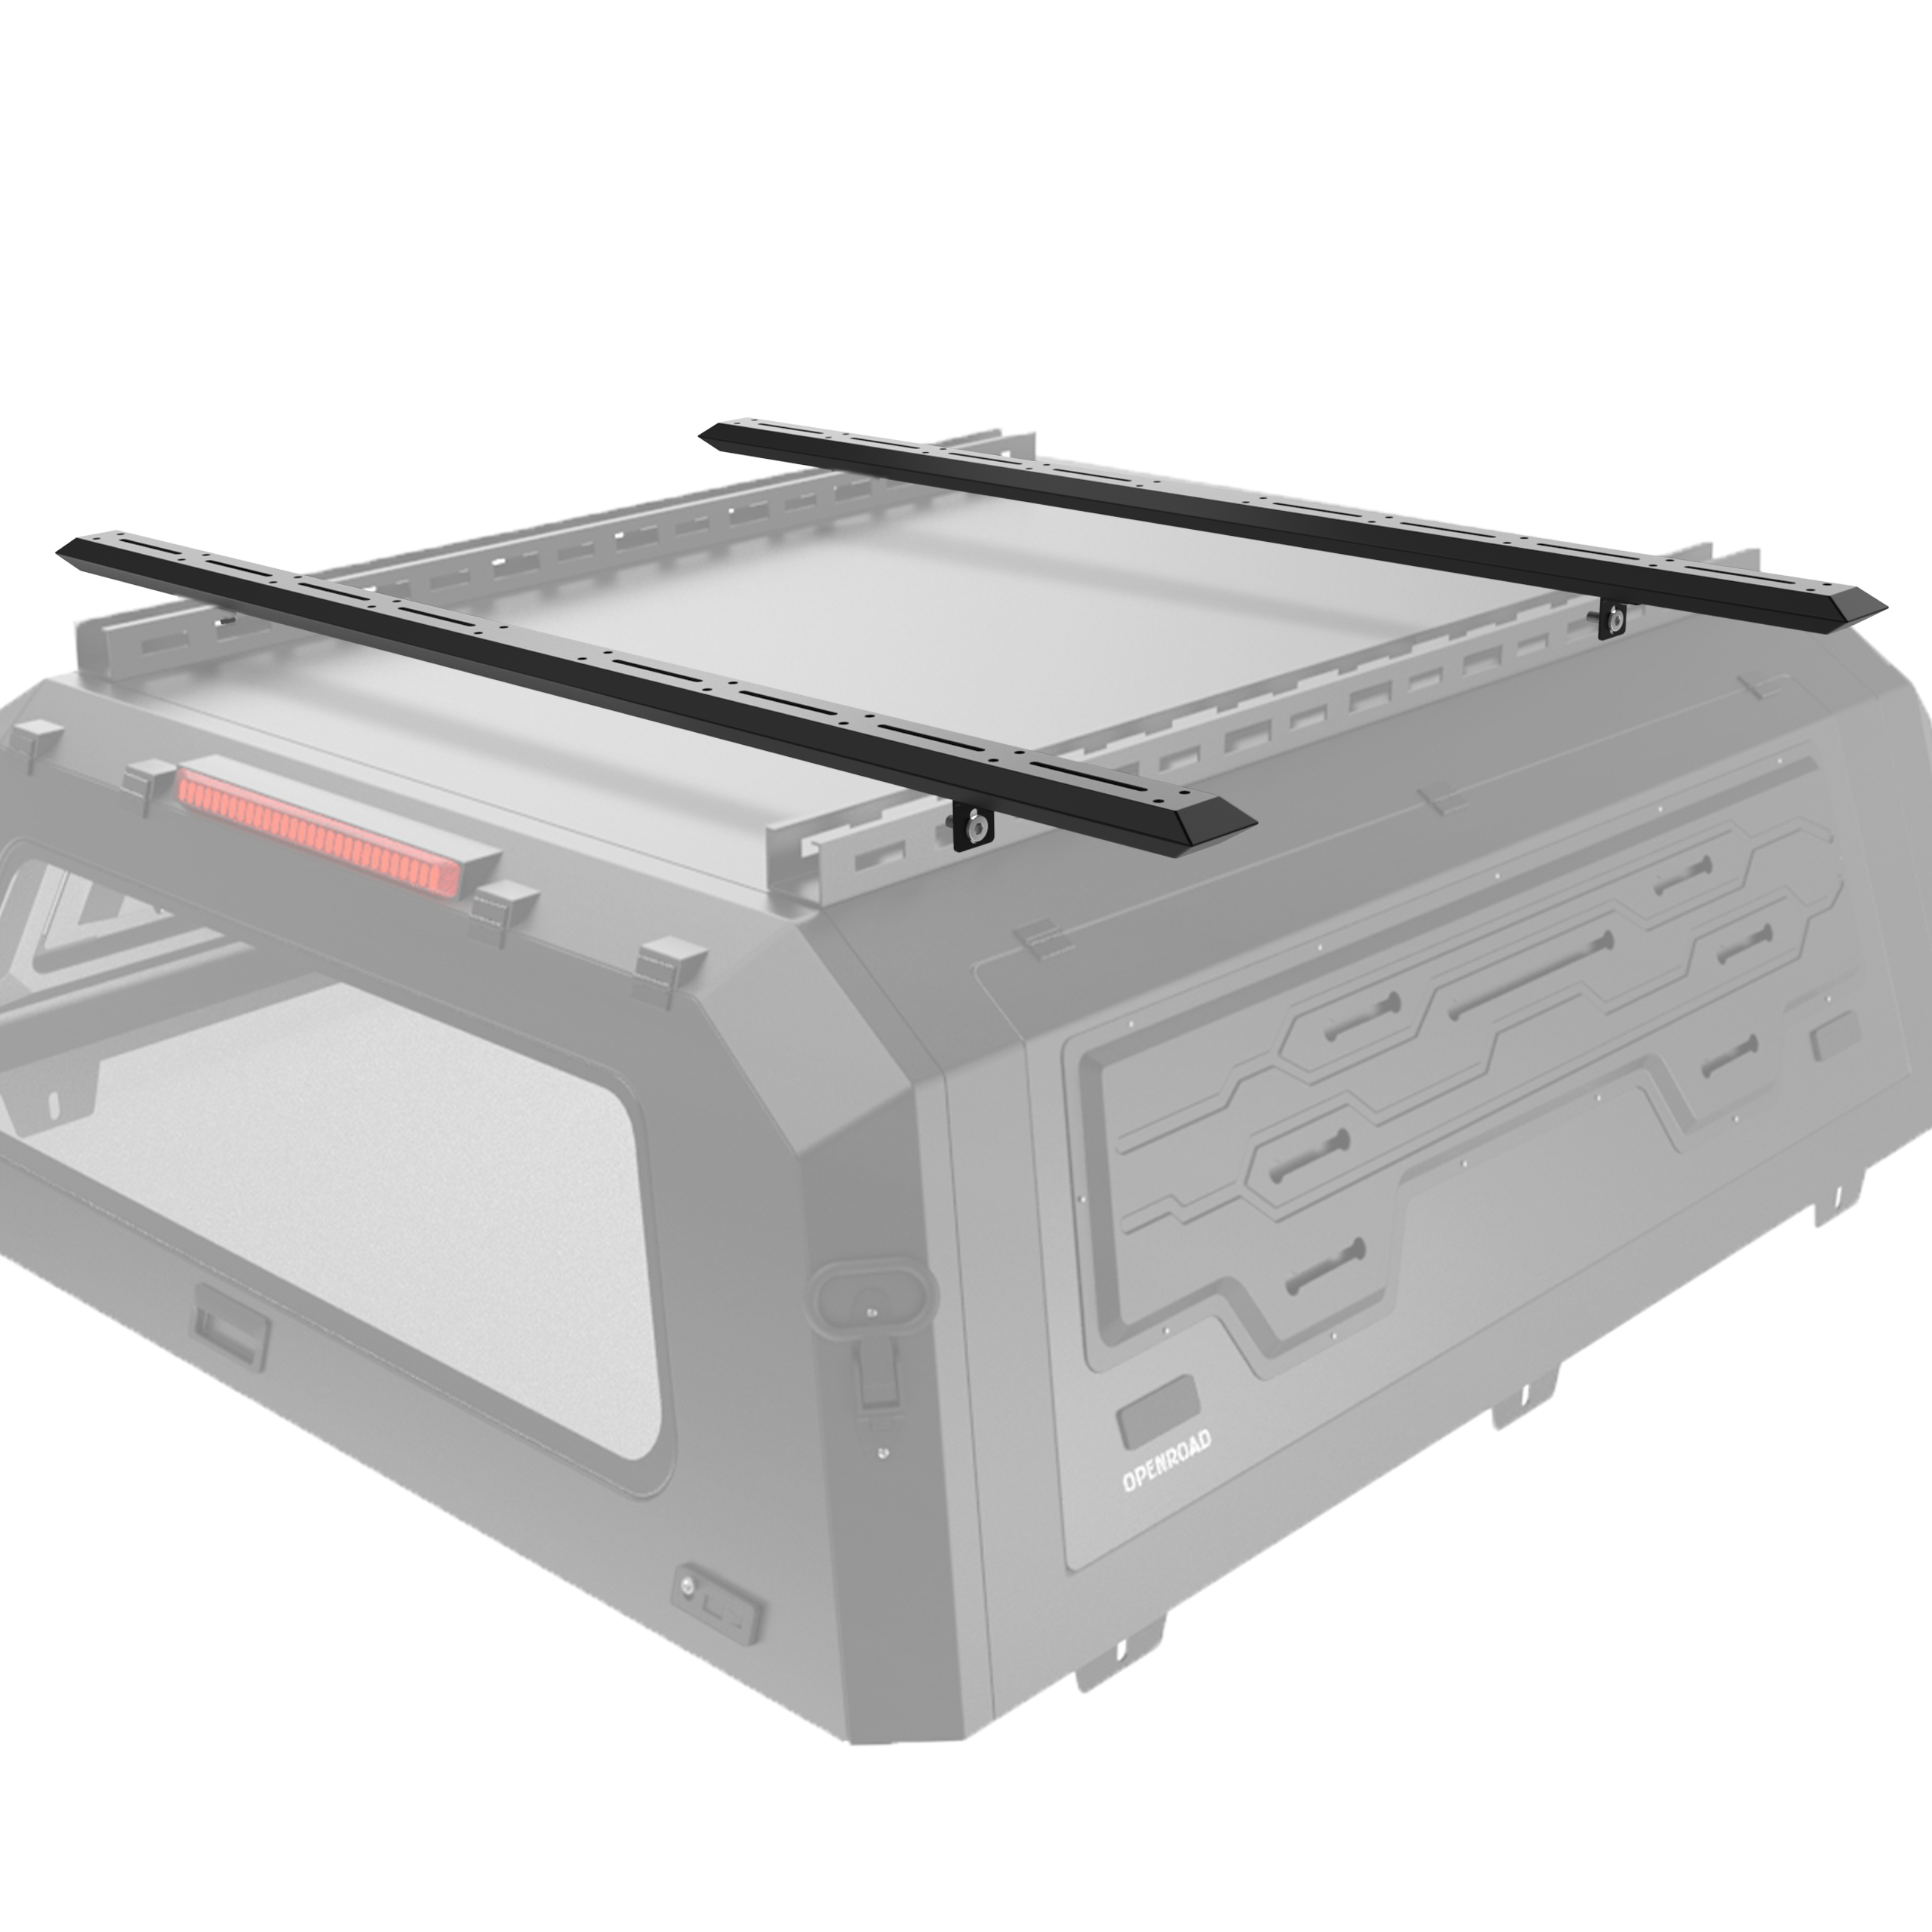
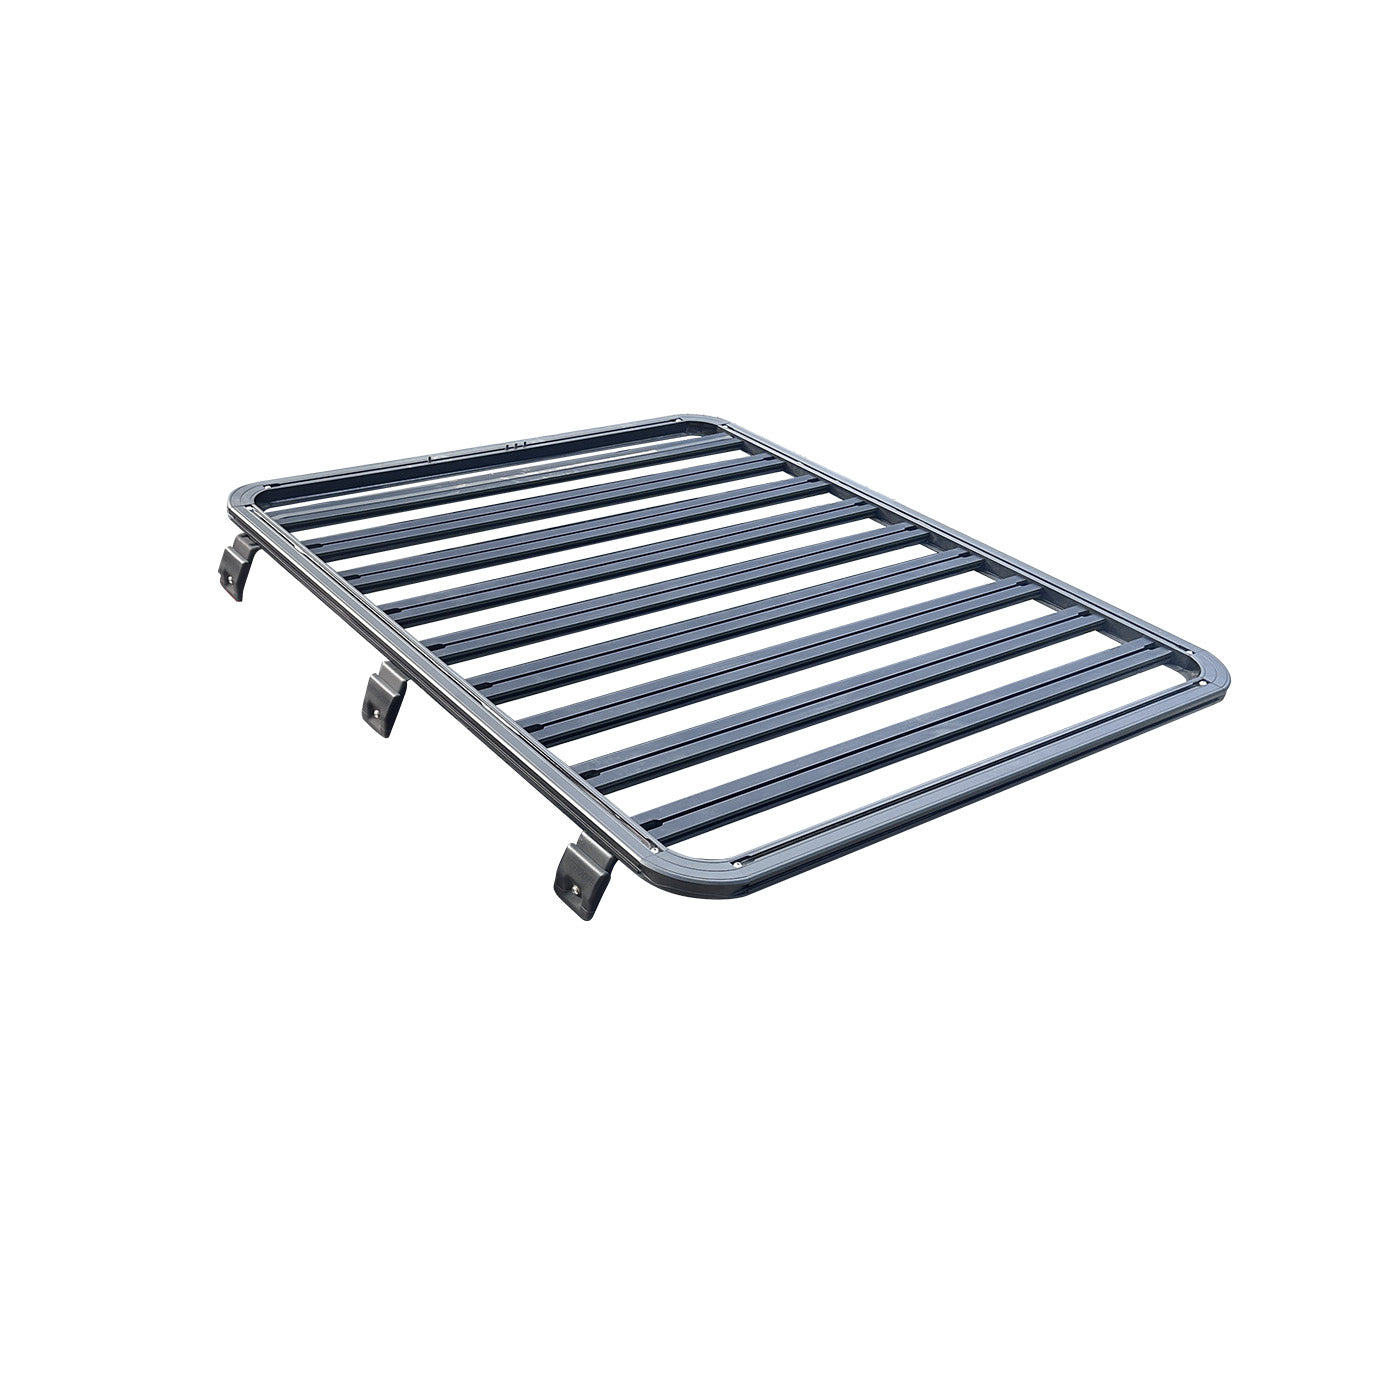
2. Roof Rack Mount with Tie-Downs and Ratchet Straps
If you need the entire truck bed for other gear, consider mounting your water tank on the roof rack.
Steps:
· Make sure your roof rack can support the tank weight (especially when filled).
· Use ratchet straps and non-slip mats to hold the tank firmly.
· Position it horizontally to prevent water from sloshing too much.
· Avoid placing it directly over doors to prevent leakage.
Tip: The OPENROAD 10Gal Tank is long and narrow, making it a great fit for rooftop use.

3. Truck Bed Corner Mount with L-Shaped Brackets
For those who want to keep their water tank out of the way, mounting it in a corner of the truck bed is a smart idea.
Instructions:
· Use L-shaped metal brackets from a hardware store.
· Secure them to the truck bed floor and wall using bolts.
· Place the tank in the corner and strap it into the bracket setup.
· Make sure the outlet valve is easily reachable.
Benefit: Saves space and avoids interfering with other gear.
4. Slide-Out Drawer System with Built-in Water Tank Space
For a more advanced setup, you can build or buy a slide-out drawer system that includes a section for the water tank. This method is perfect if you want full organization in your truck bed.
Steps:
· Build or purchase a drawer frame using plywood and heavy-duty sliders.
· Create a cutout or enclosure for your water tank.
· Install a drain hole or faucet that sticks out the drawer.
· Use foam padding to prevent the tank from moving inside.
Great for: Overlanders who need both storage and utility on the go.

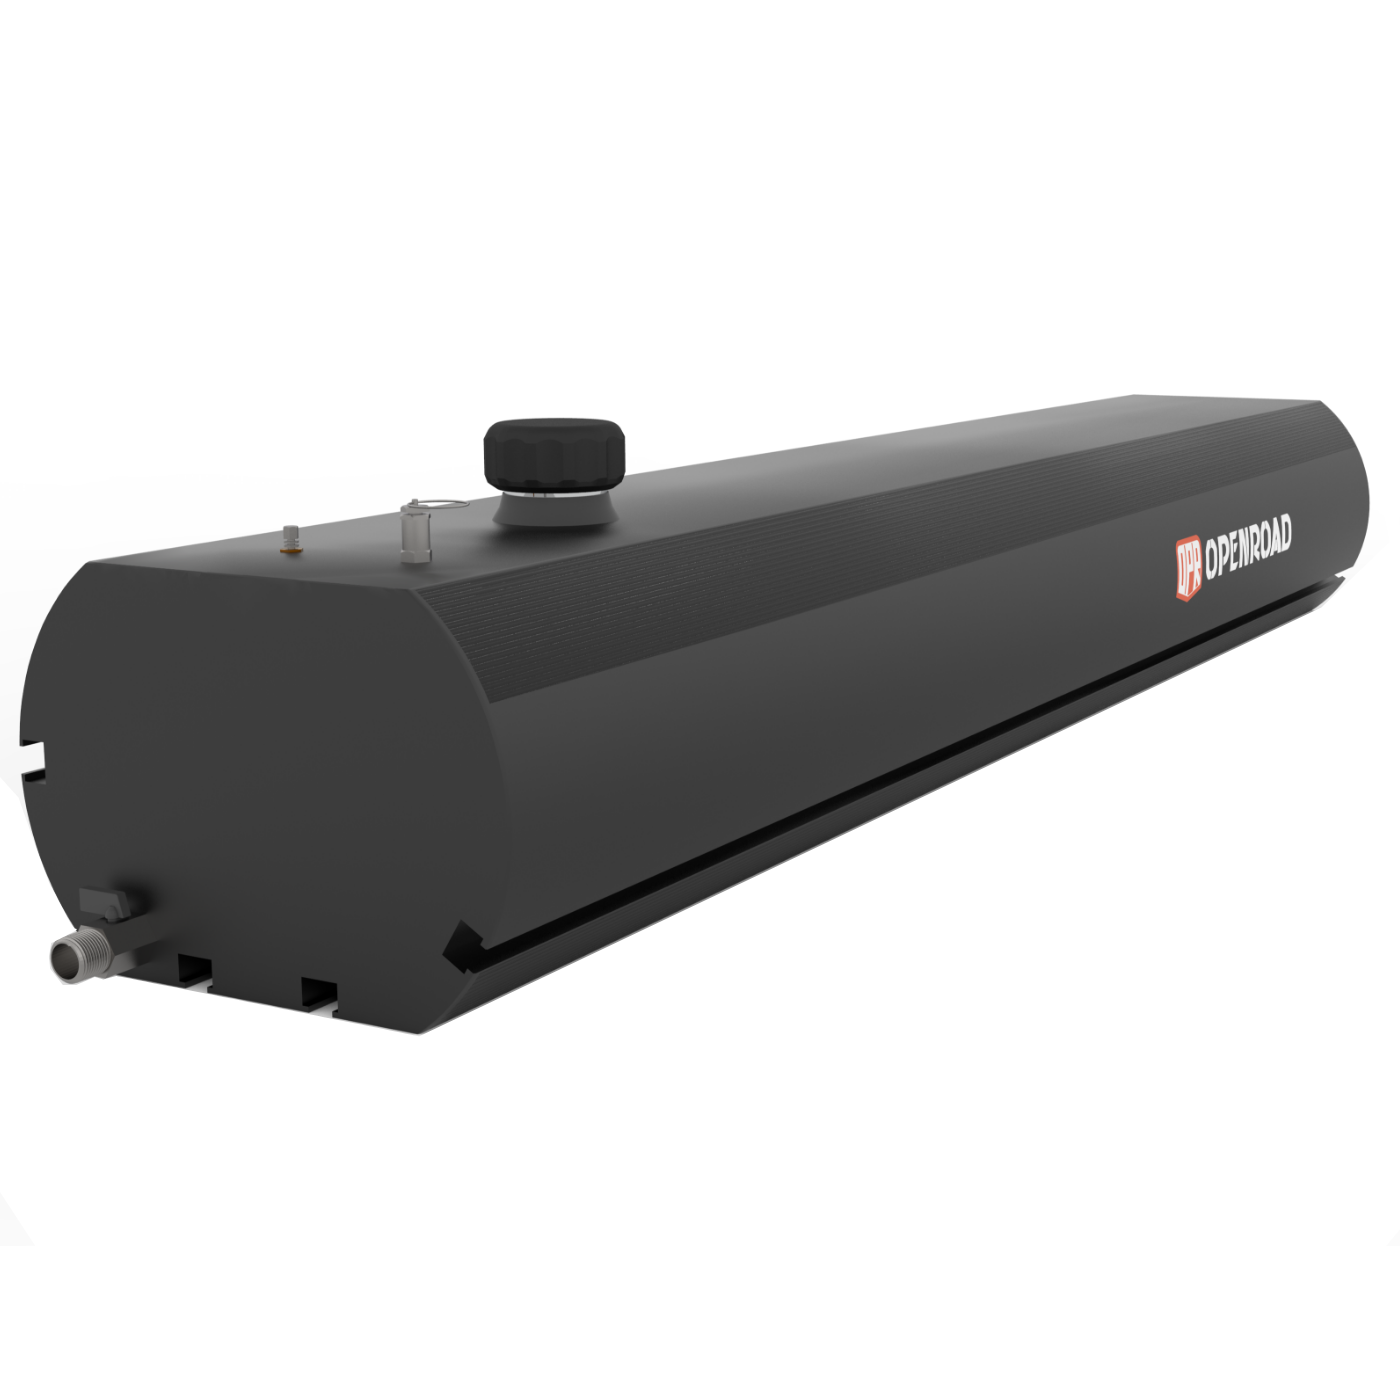
Part 3: Why the OPENROAD Pressurized Water Tank Is the Perfect Fit
Now that you know your mounting options, it’s time to choose the right water tank that works perfectly with them. The OPENROAD Pressurized Water Tank for Camping Shower stands out as one of the best choices for outdoor enthusiasts. Whether you're heading off-road, setting up camp, or going on a long road trip, this tank offers both convenience and reliability. With durable construction, strong water pressure, and multiple size options, it’s designed to meet all your on-the-go water needs.
Here’s why this product is perfect for your 4x4:
Available in Two Sizes
Choose between:
· 5 Gallon (39.4 x 7.8 x 5.9 inches)
· 10 Gallon (78 x 7.8 x 5.9 inches)
Both are long and slim, so they fit in tight spaces like bed rails or rooftop racks.
Strong Build and Pressurized Water Flow
Made with aluminum alloy, it’s rust-resistant, strong, and lightweight. With up to 30 PSI pressure, it allows easy showers, rinsing dishes, or washing your dog.

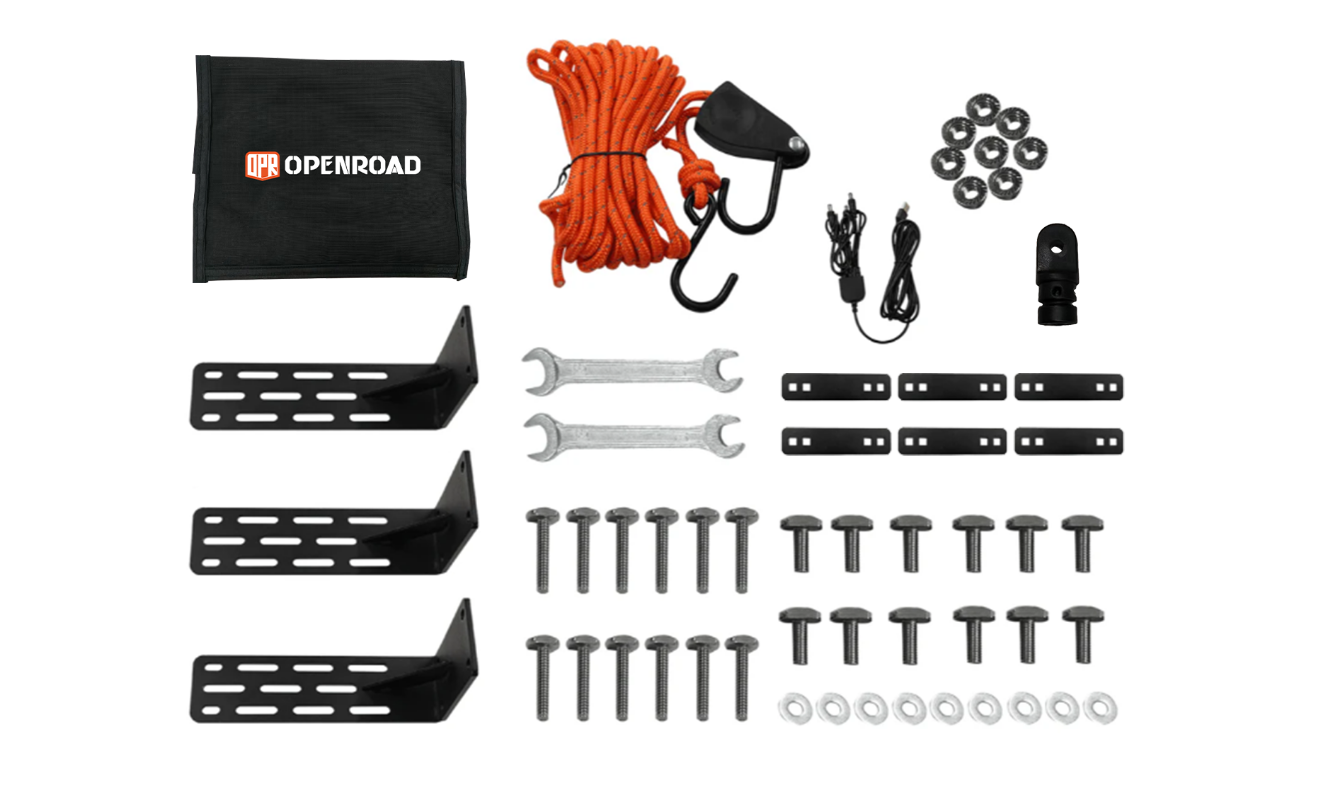
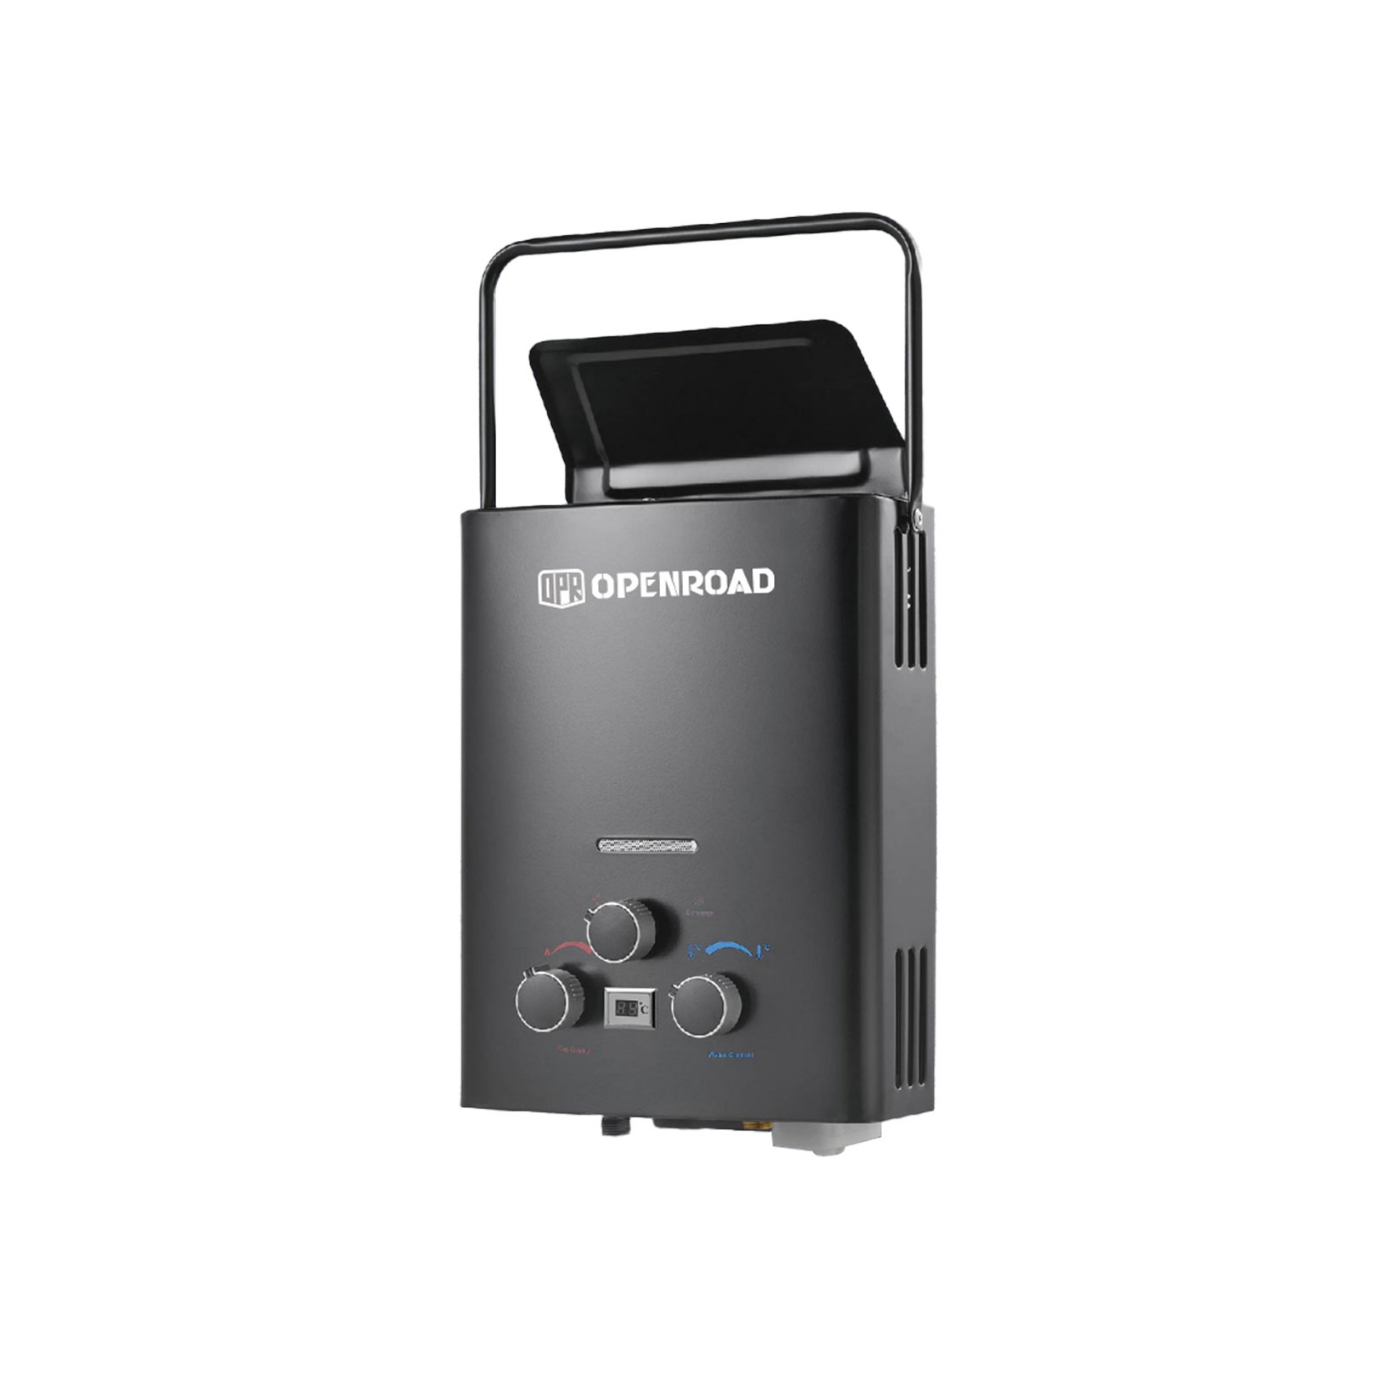
Multiple Package Options
You can get:
· The water tank alone
· With a water heater
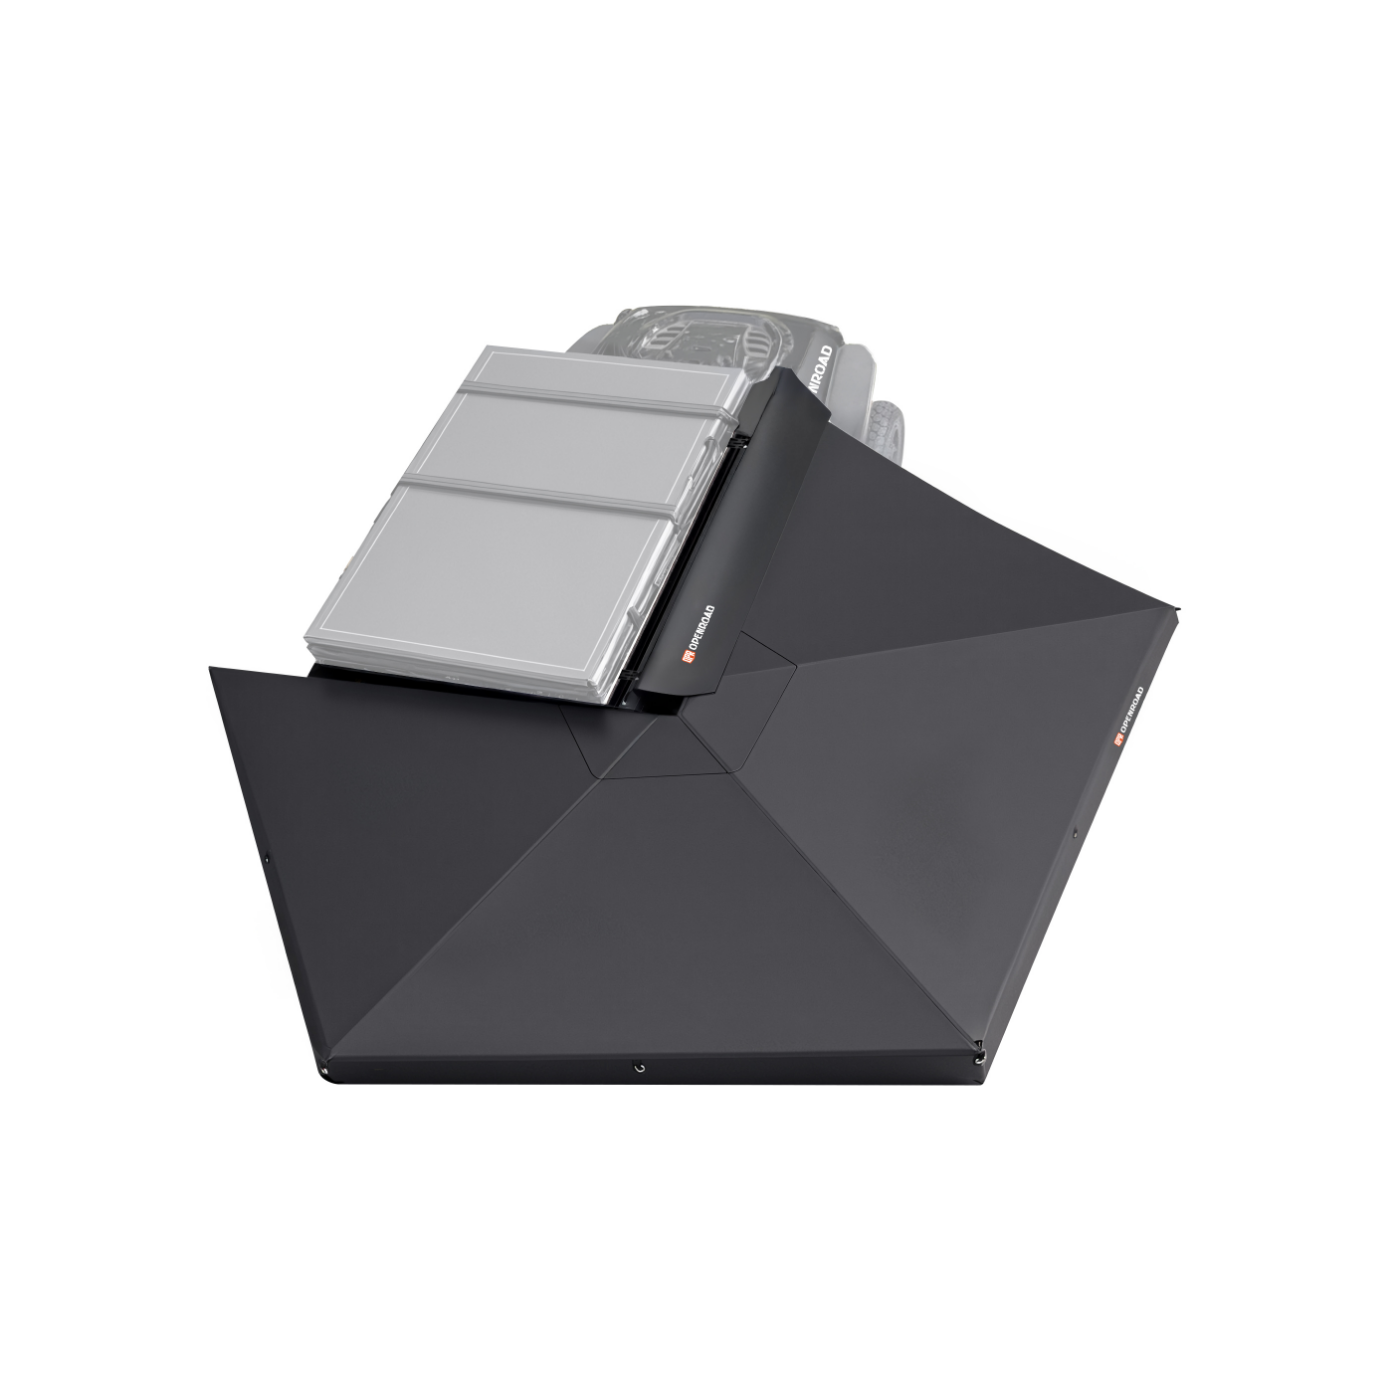
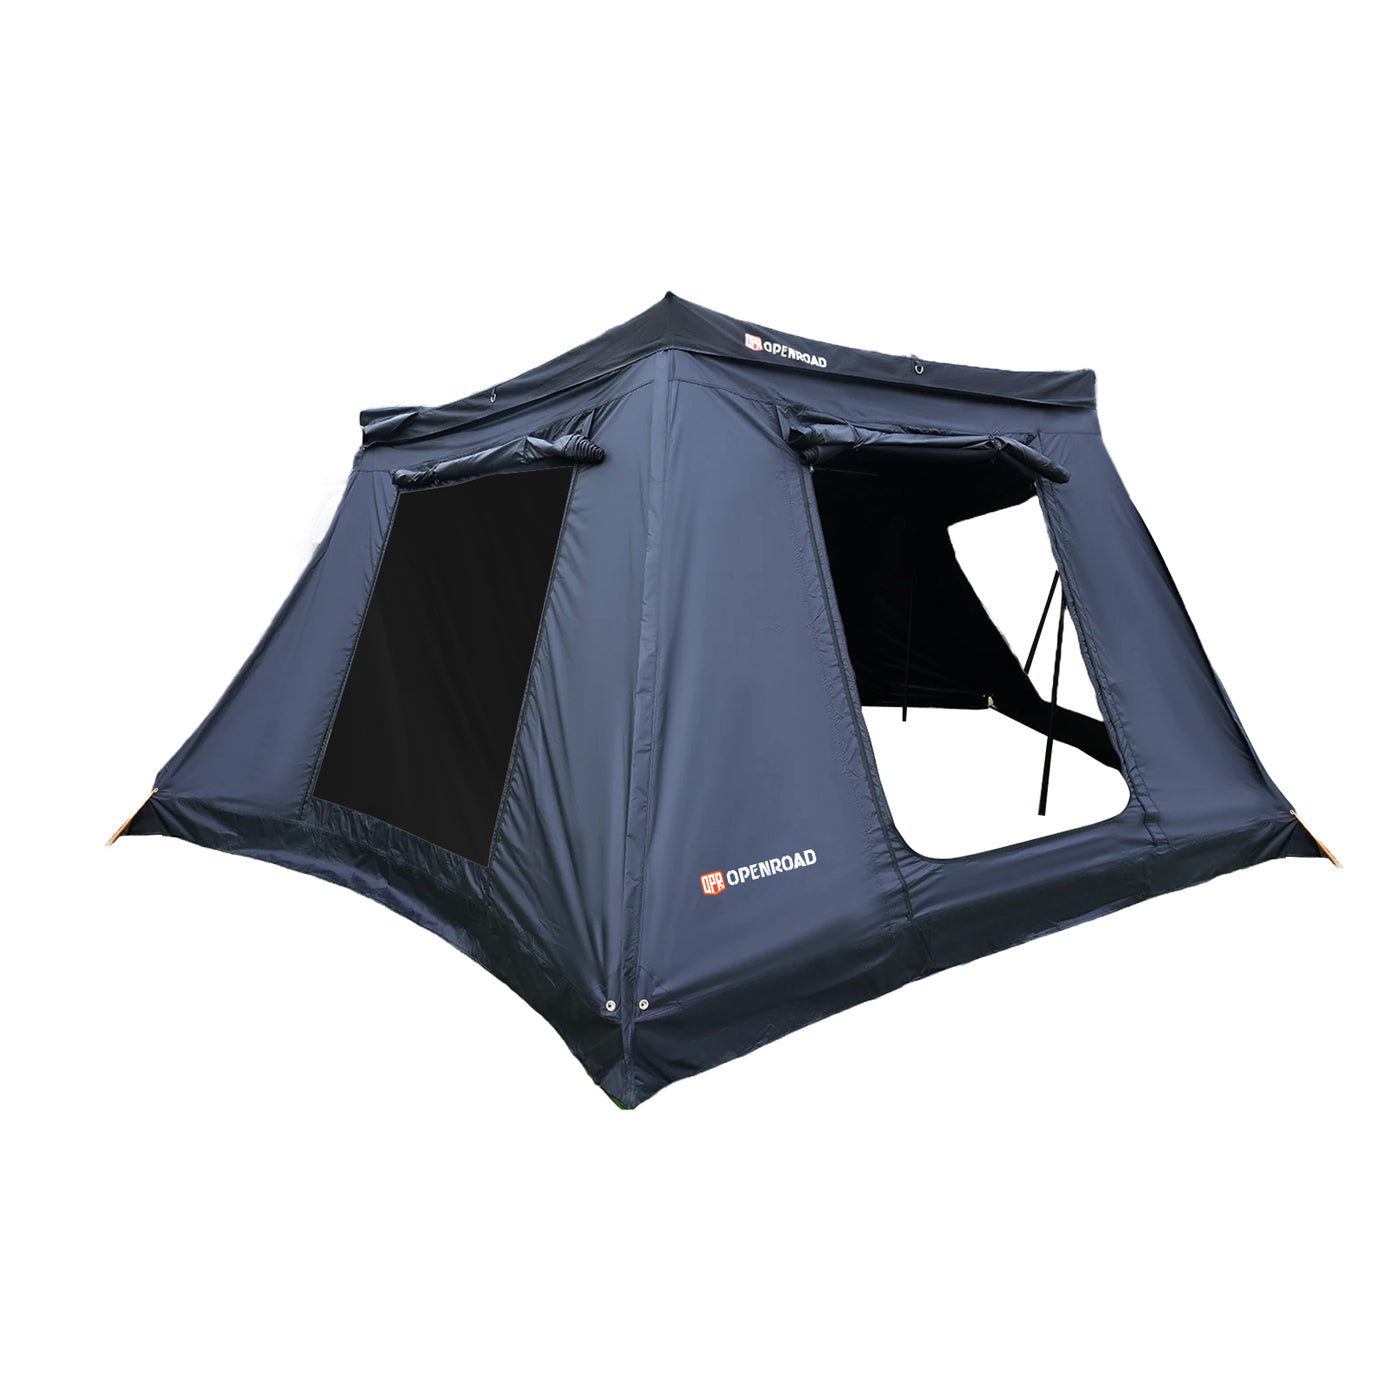
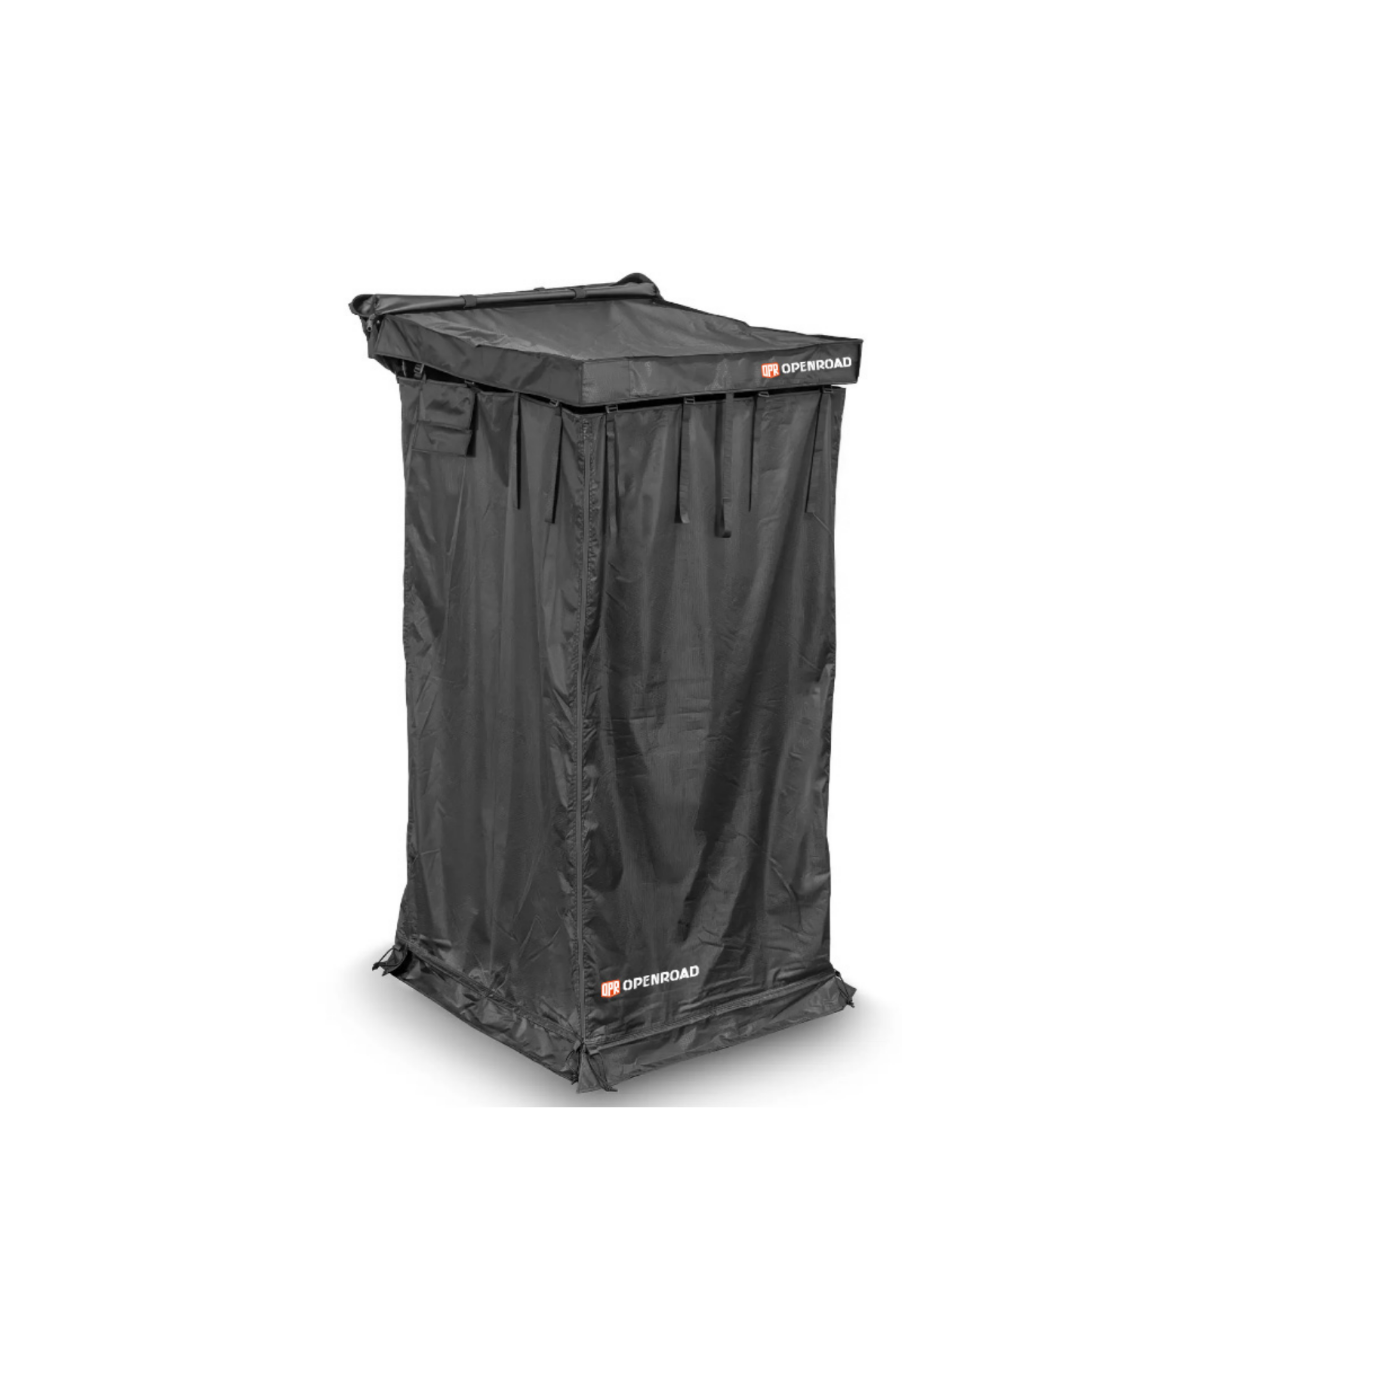
· With a shower awning for a full outdoor shower setup
Quick and Handy Uses
· Rinse dishes after meals
· Take a shower anywhere
· Cool down your pet
· Wash your hands or clean your tools
And it ships within 1 business day, with free shipping included.

Part 4: Installation Tips for OPENROAD Water Tank
Mounting your OPENROAD water tank the right way ensures safety, ease of use, and long-term durability. Follow these simple installation tips to keep your tank secure and fully functional during all your 4WD or camping trips.
Tip 1: Use Rubber Padding or Foam
Always use padding underneath and around the tank to reduce damage from bumps and vibrations.
Tip 2: Secure with Nylon Straps
Nylon or ratchet straps are better than rope. They hold tightly and don’t loosen during the ride.
Tip 3: Keep the Outlet Accessible
Always install the tank so that you can easily reach the outlet or spray nozzle without unloading your gear.
Tip 4: Test the Pressure Before Trips
Make sure the tank is properly pressurized and check for leaks before hitting the road.


Hinterlassen Sie einen Kommentar